Marking and Managing Attendance
Marking Attendance
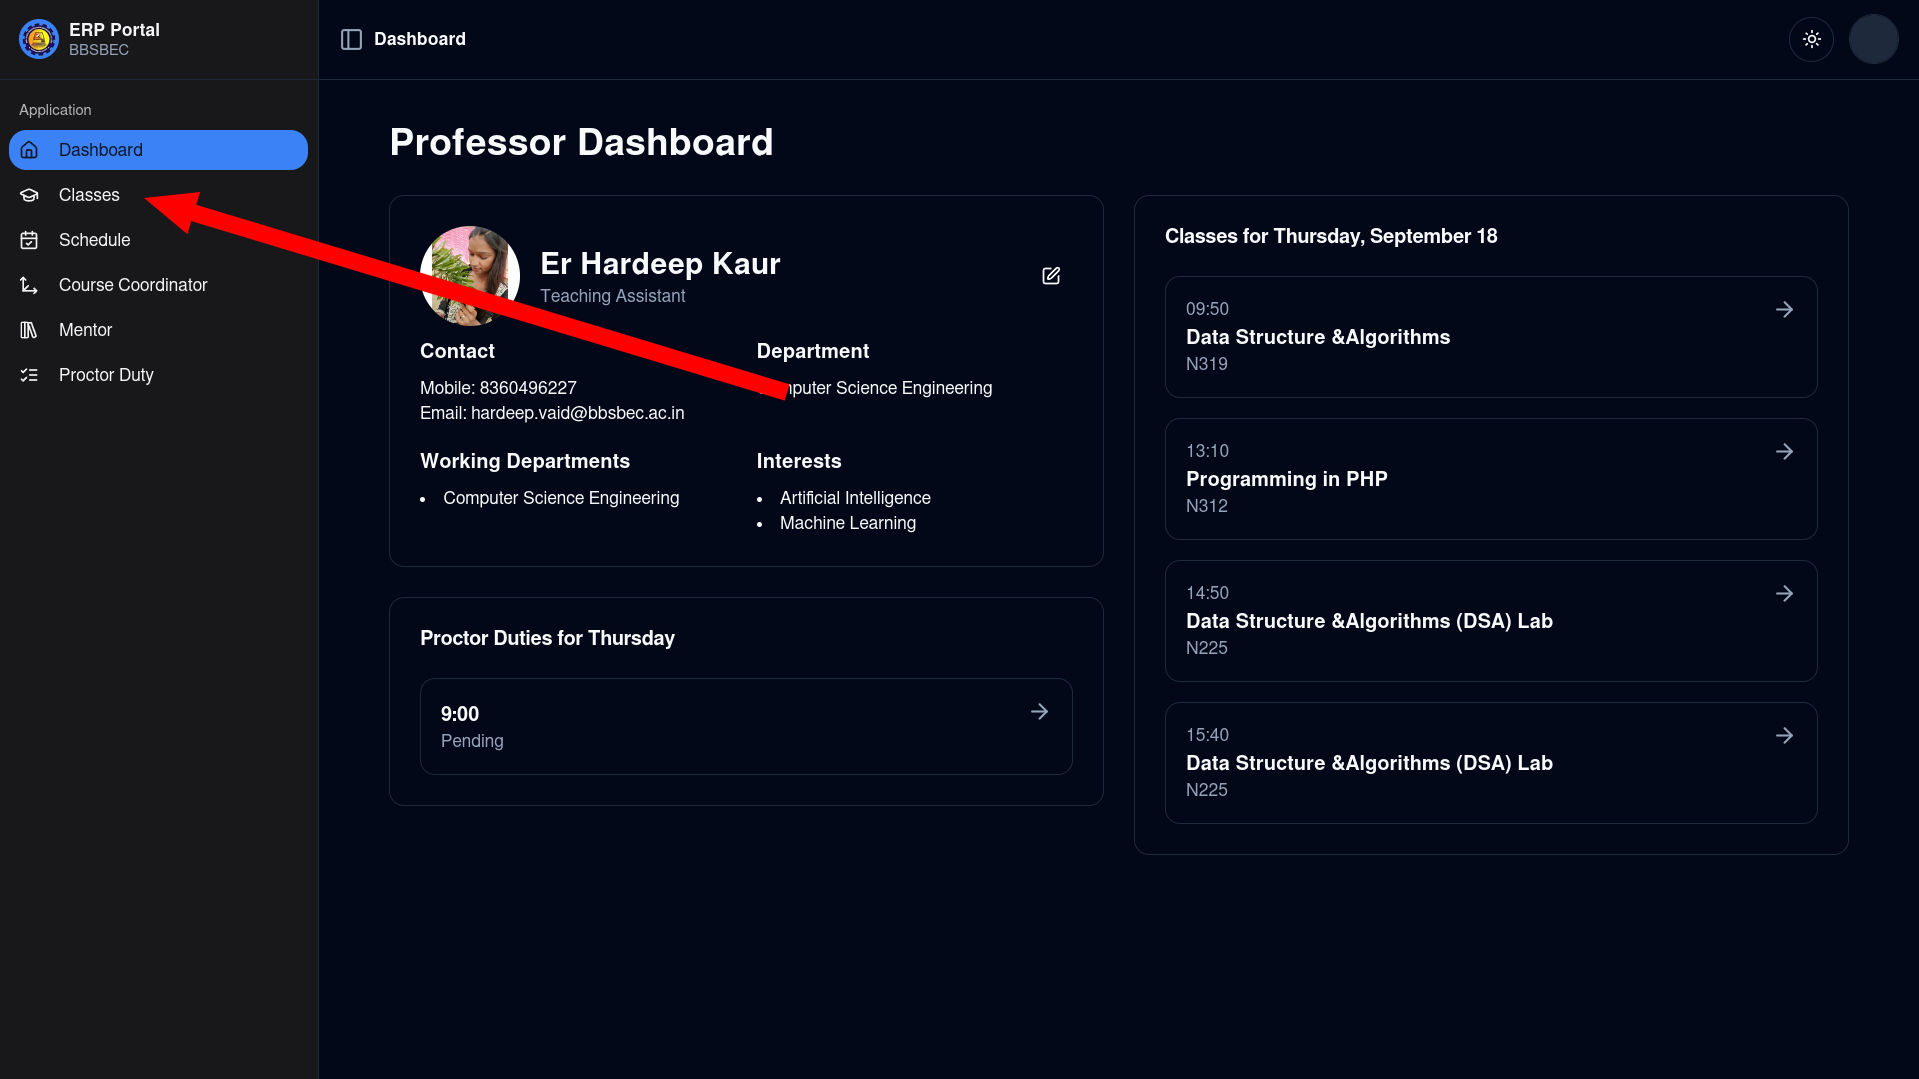
Go to the classes page from the sidebar
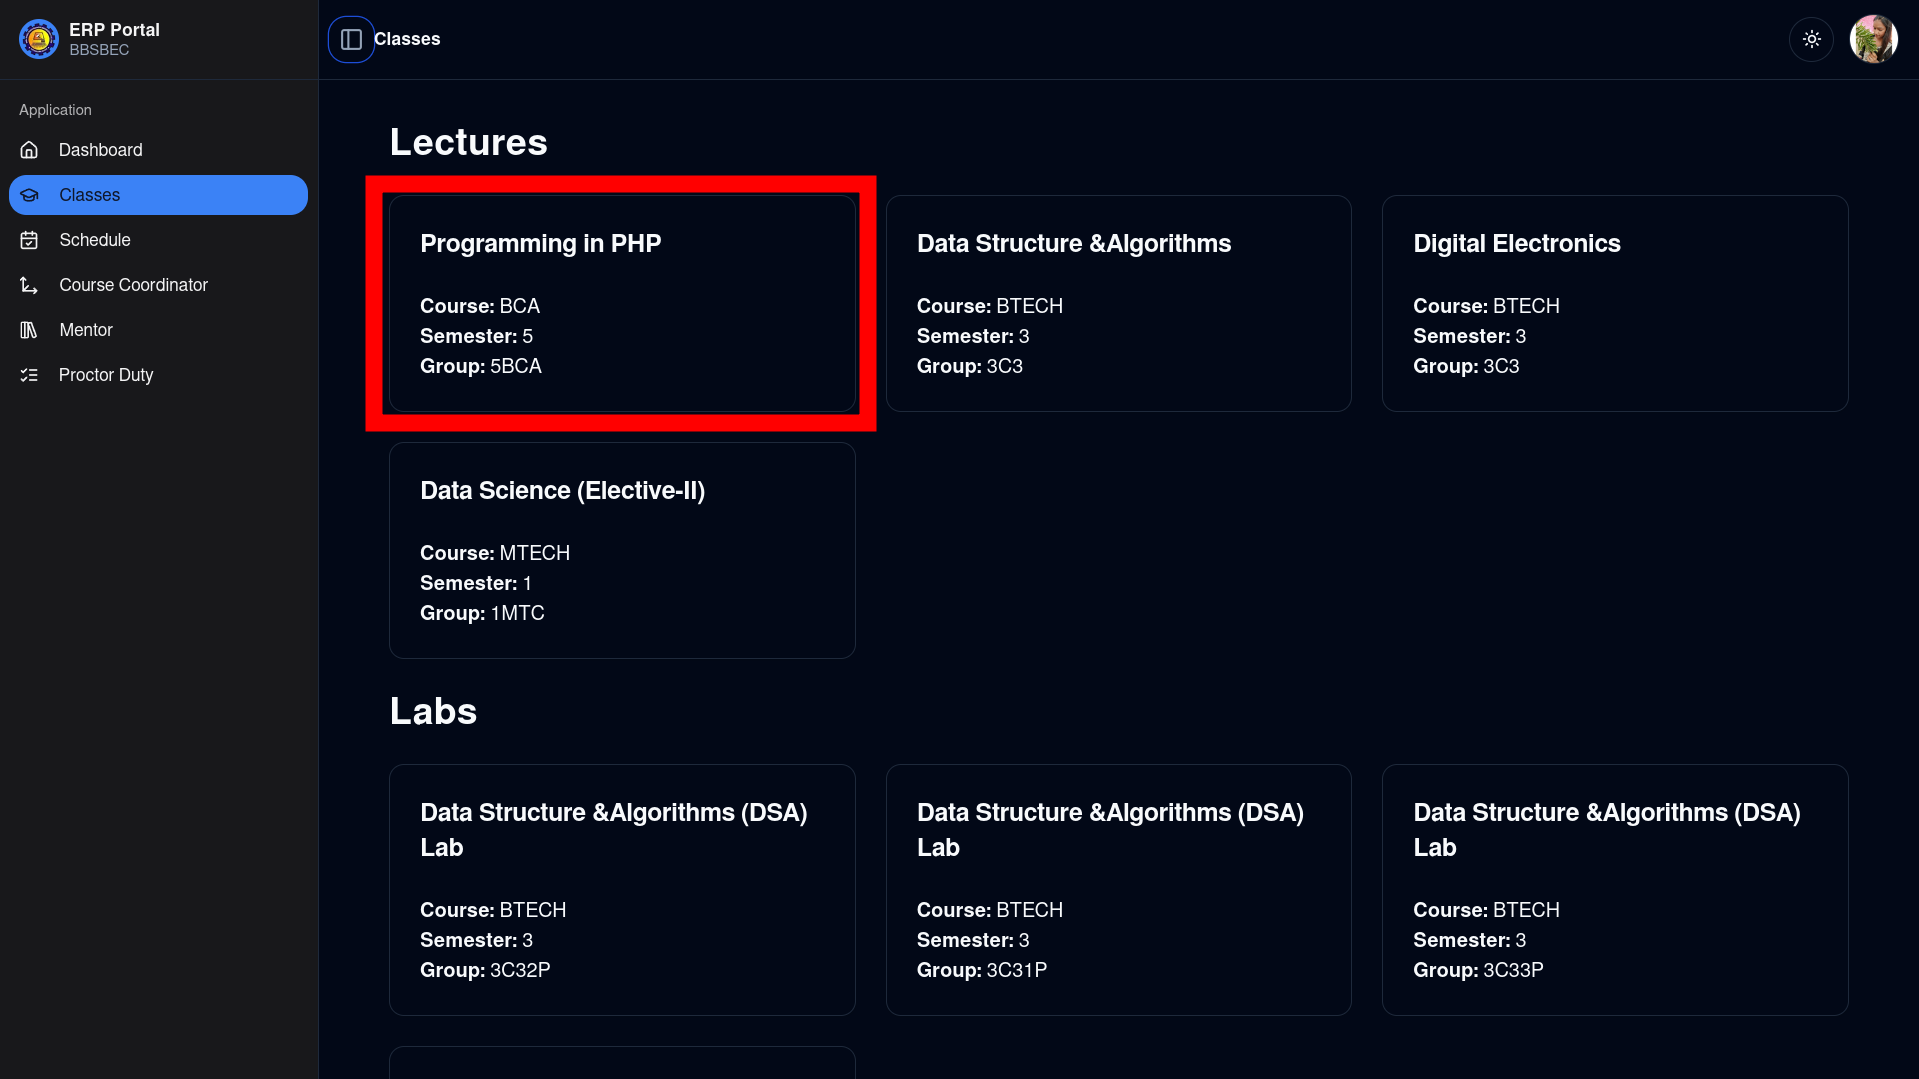
Click on a class (lecture, lab, or tutorial) to go to its respective page
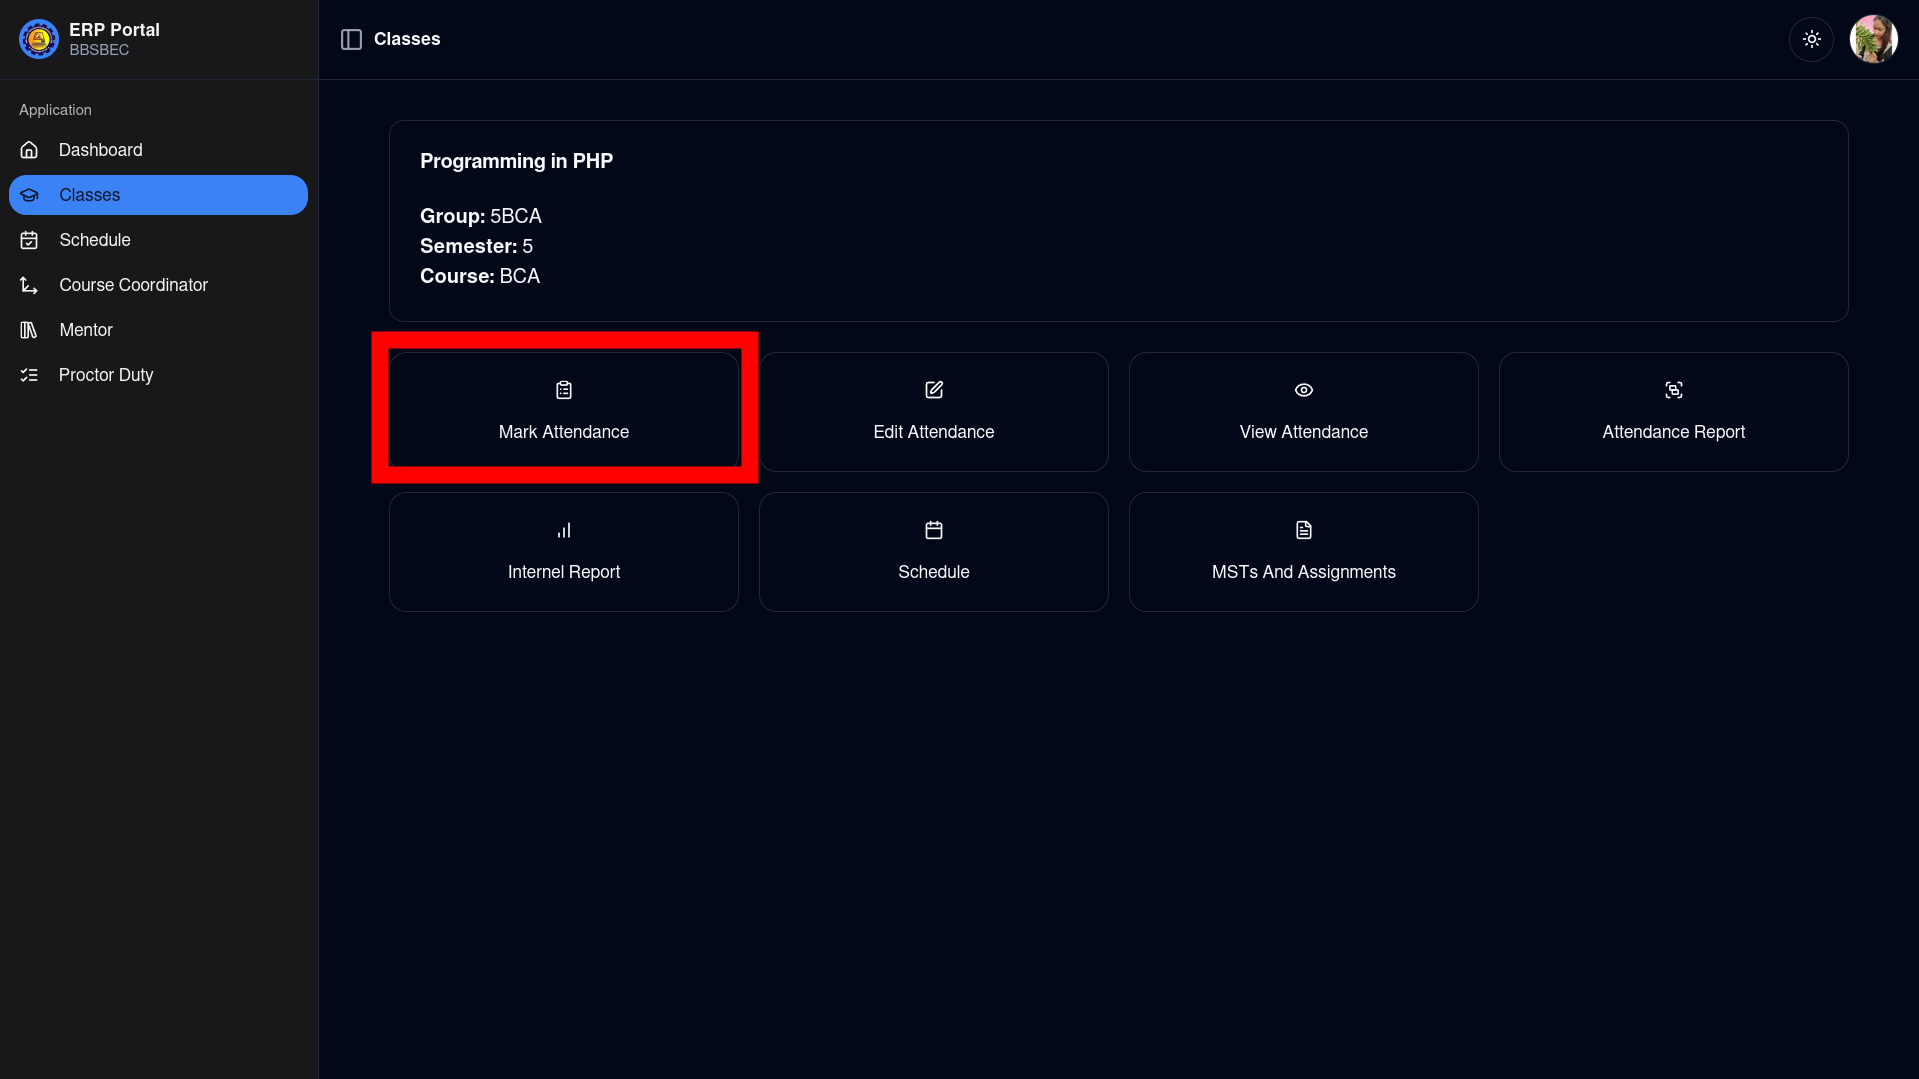
Click on "Mark Attendance" to go to the next page
Select the date and lecture time slot for which attendance needs to be marked
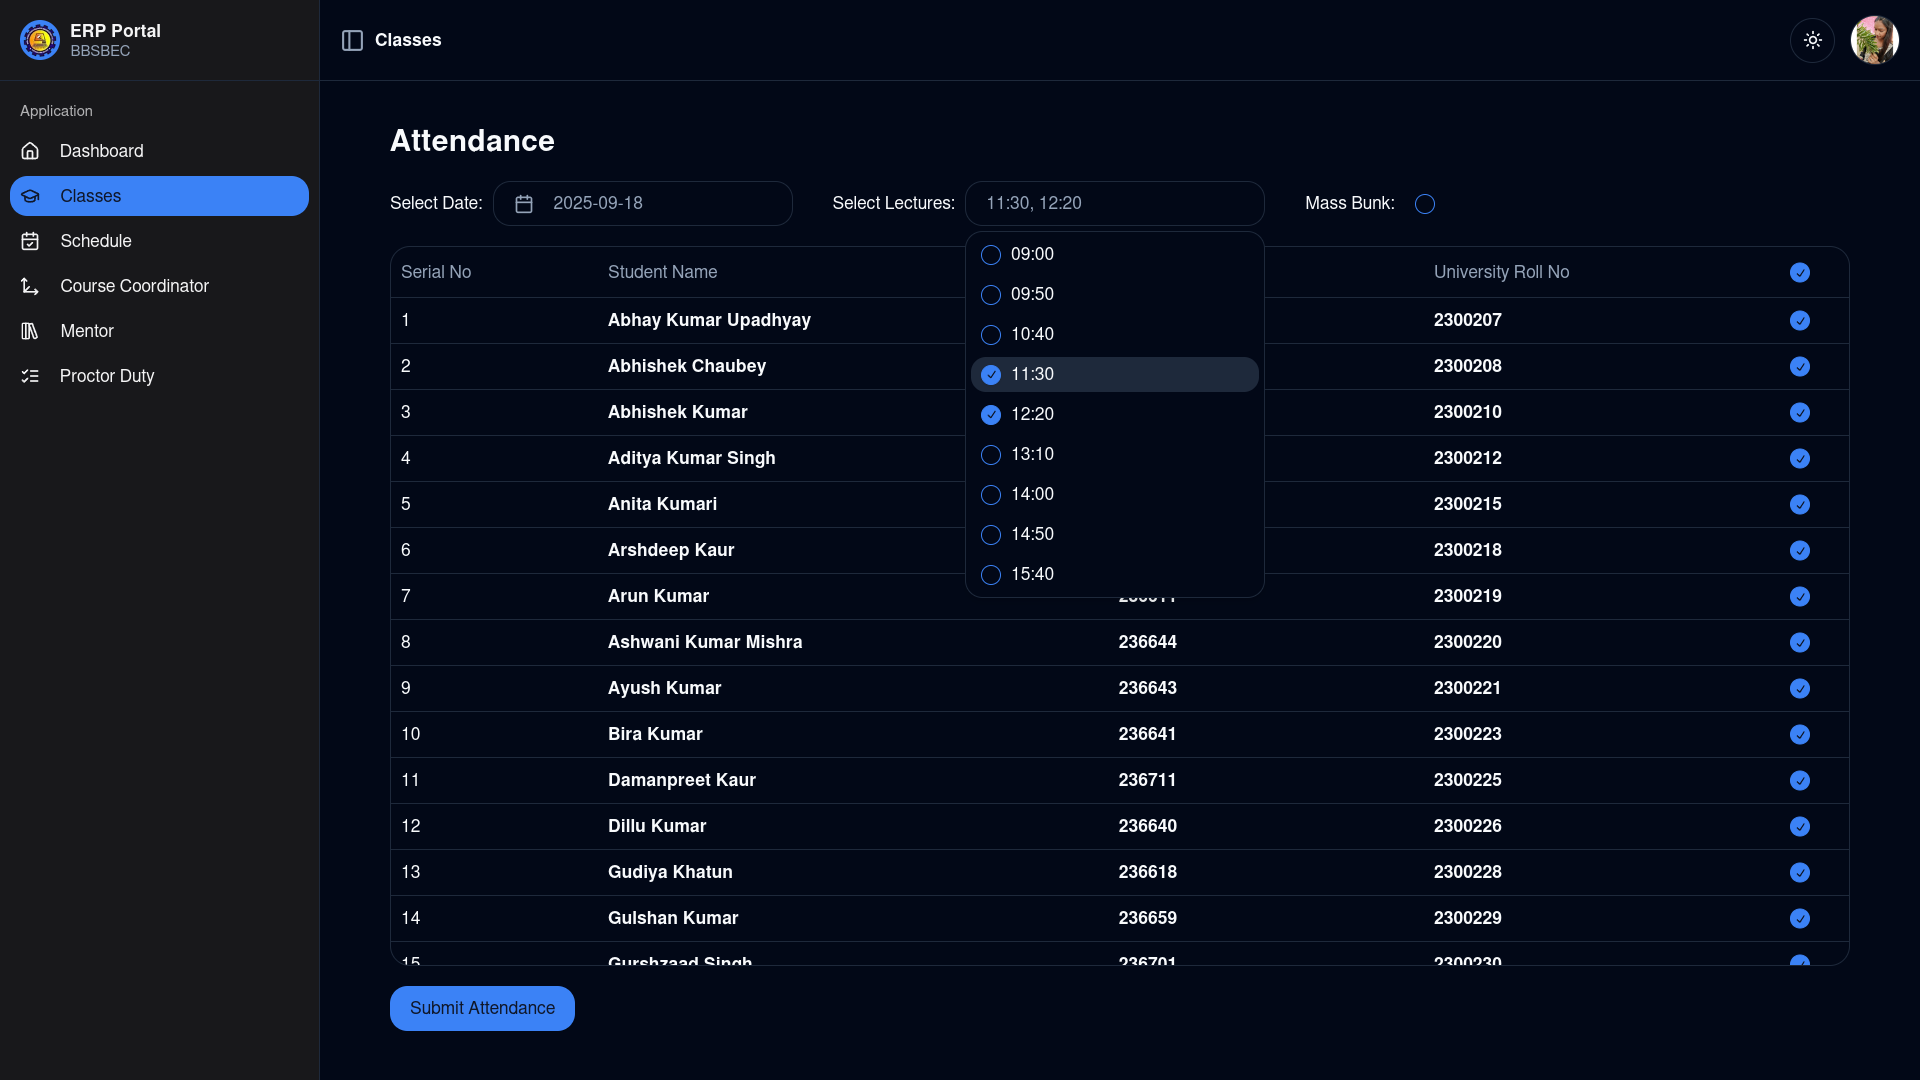
TIP
You can mark for multiple periods or lectures at once, if applicable.
By default, all students are marked Present (checked input). You can mark the whole class as "Mass Bunk" if no student attended, or update individually as needed.
Click Submit to finalize attendance.
Editing Attendance
IMPORTANT
Attendance action logs are maintained. Editing should be done only for legitimate reasons. Attendance for classes marked as "Mass Bunk" cannot be updated.
Repeat steps 1-2 of Marking Attendance.
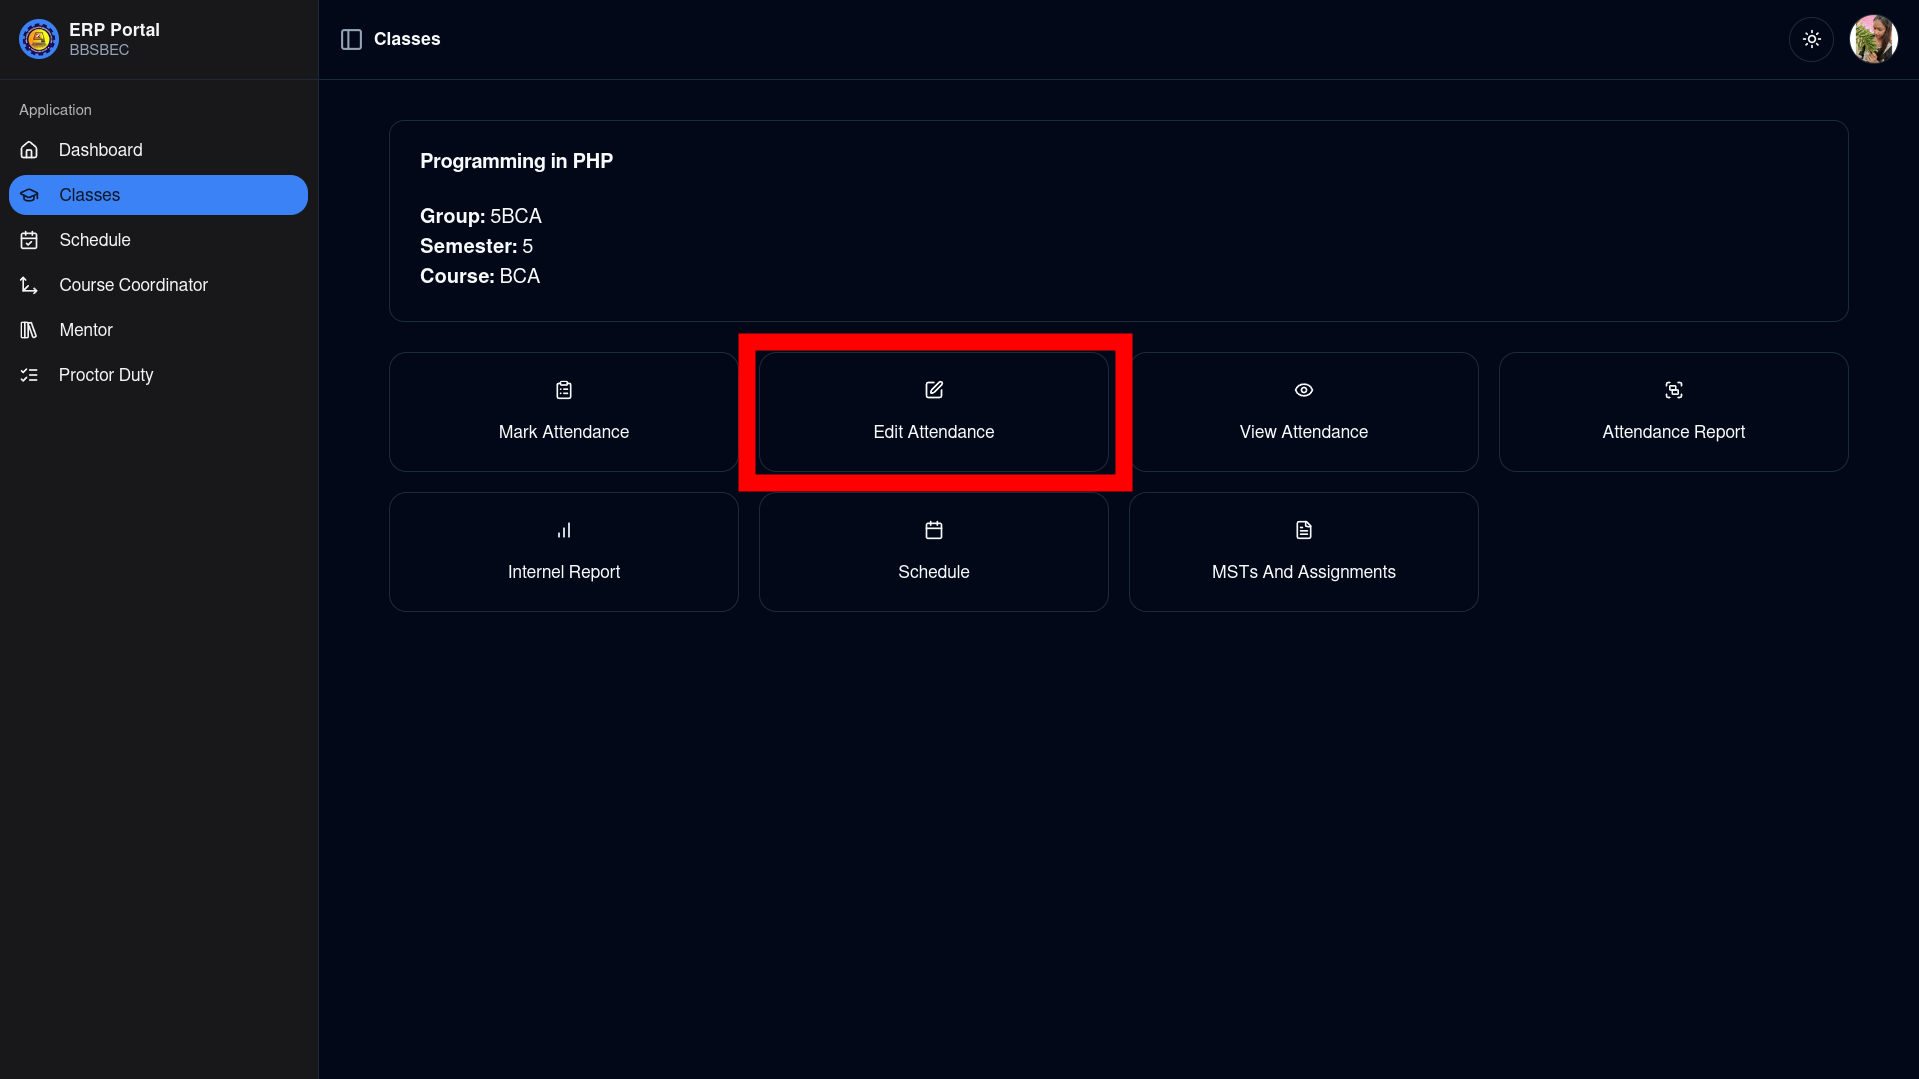
Click on "Edit Attendance"
Choose to edit by range (multiple days) or by date (single day).
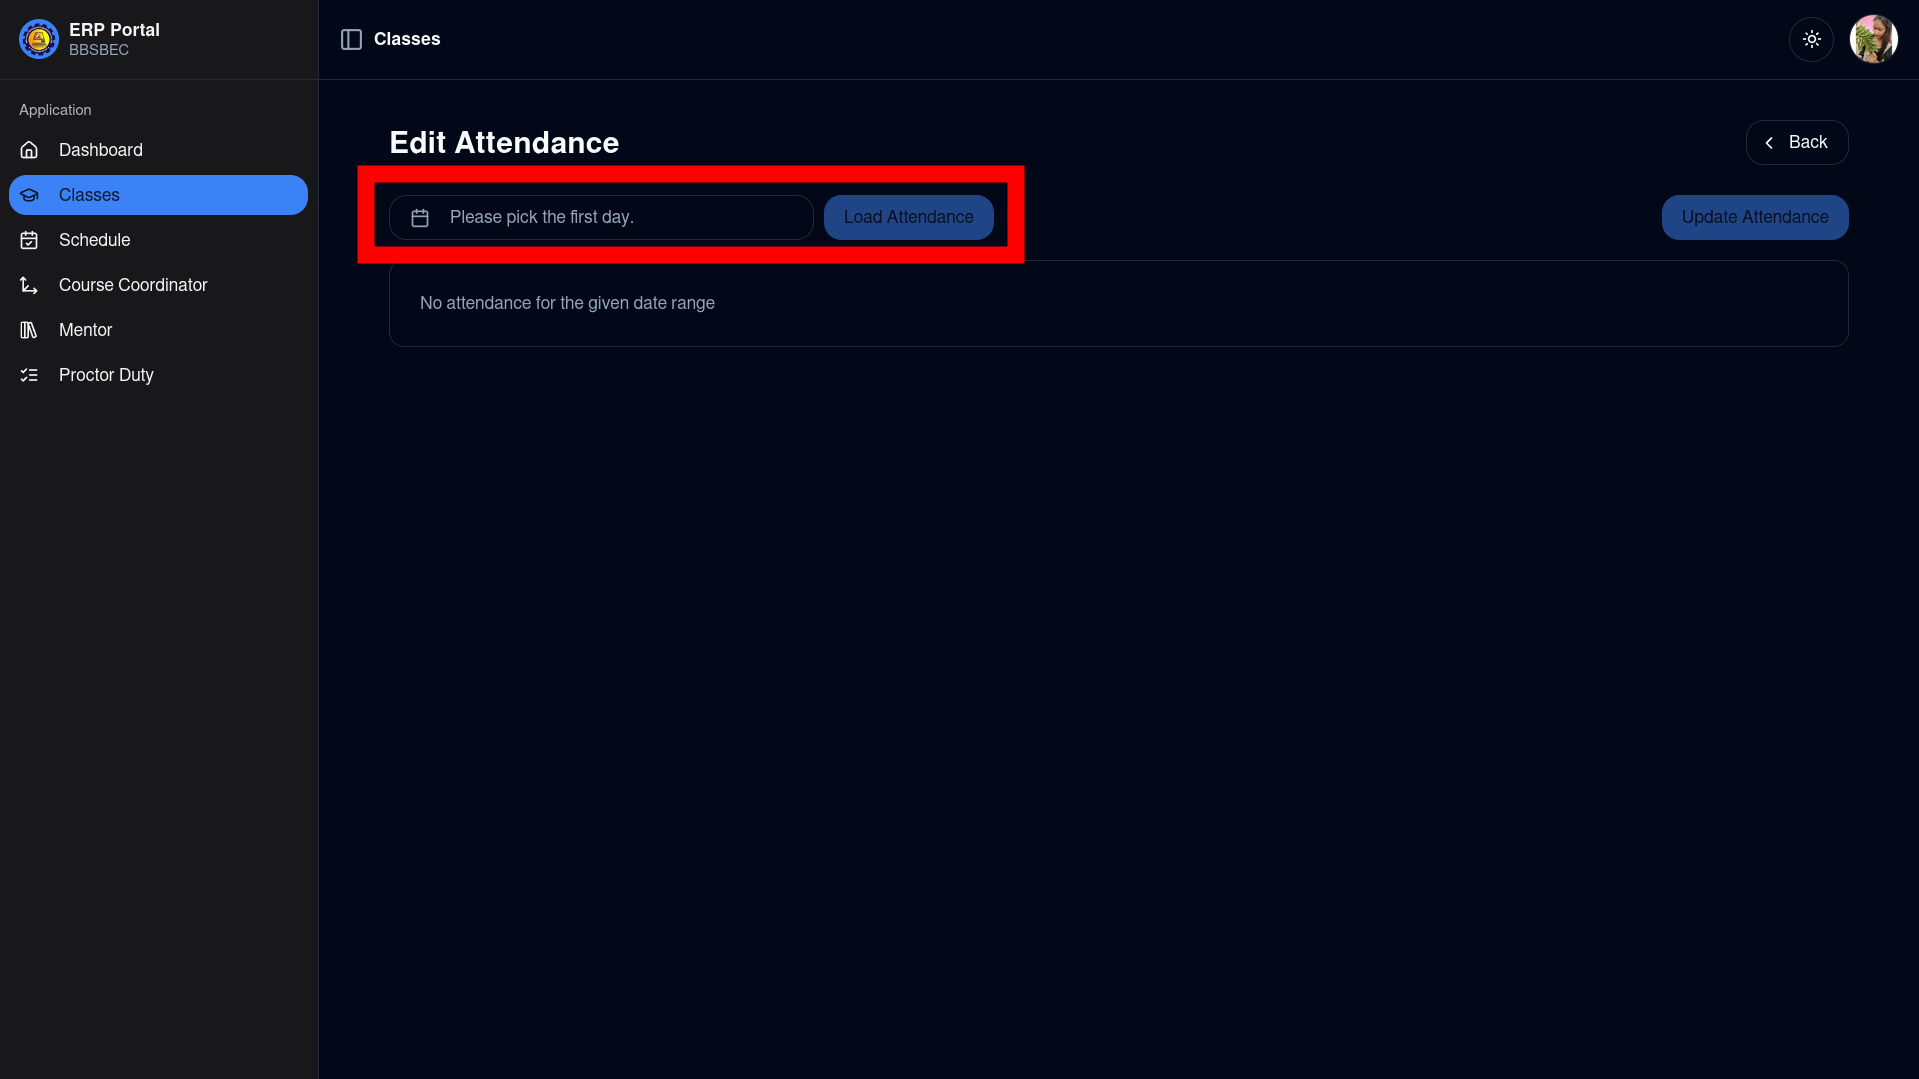
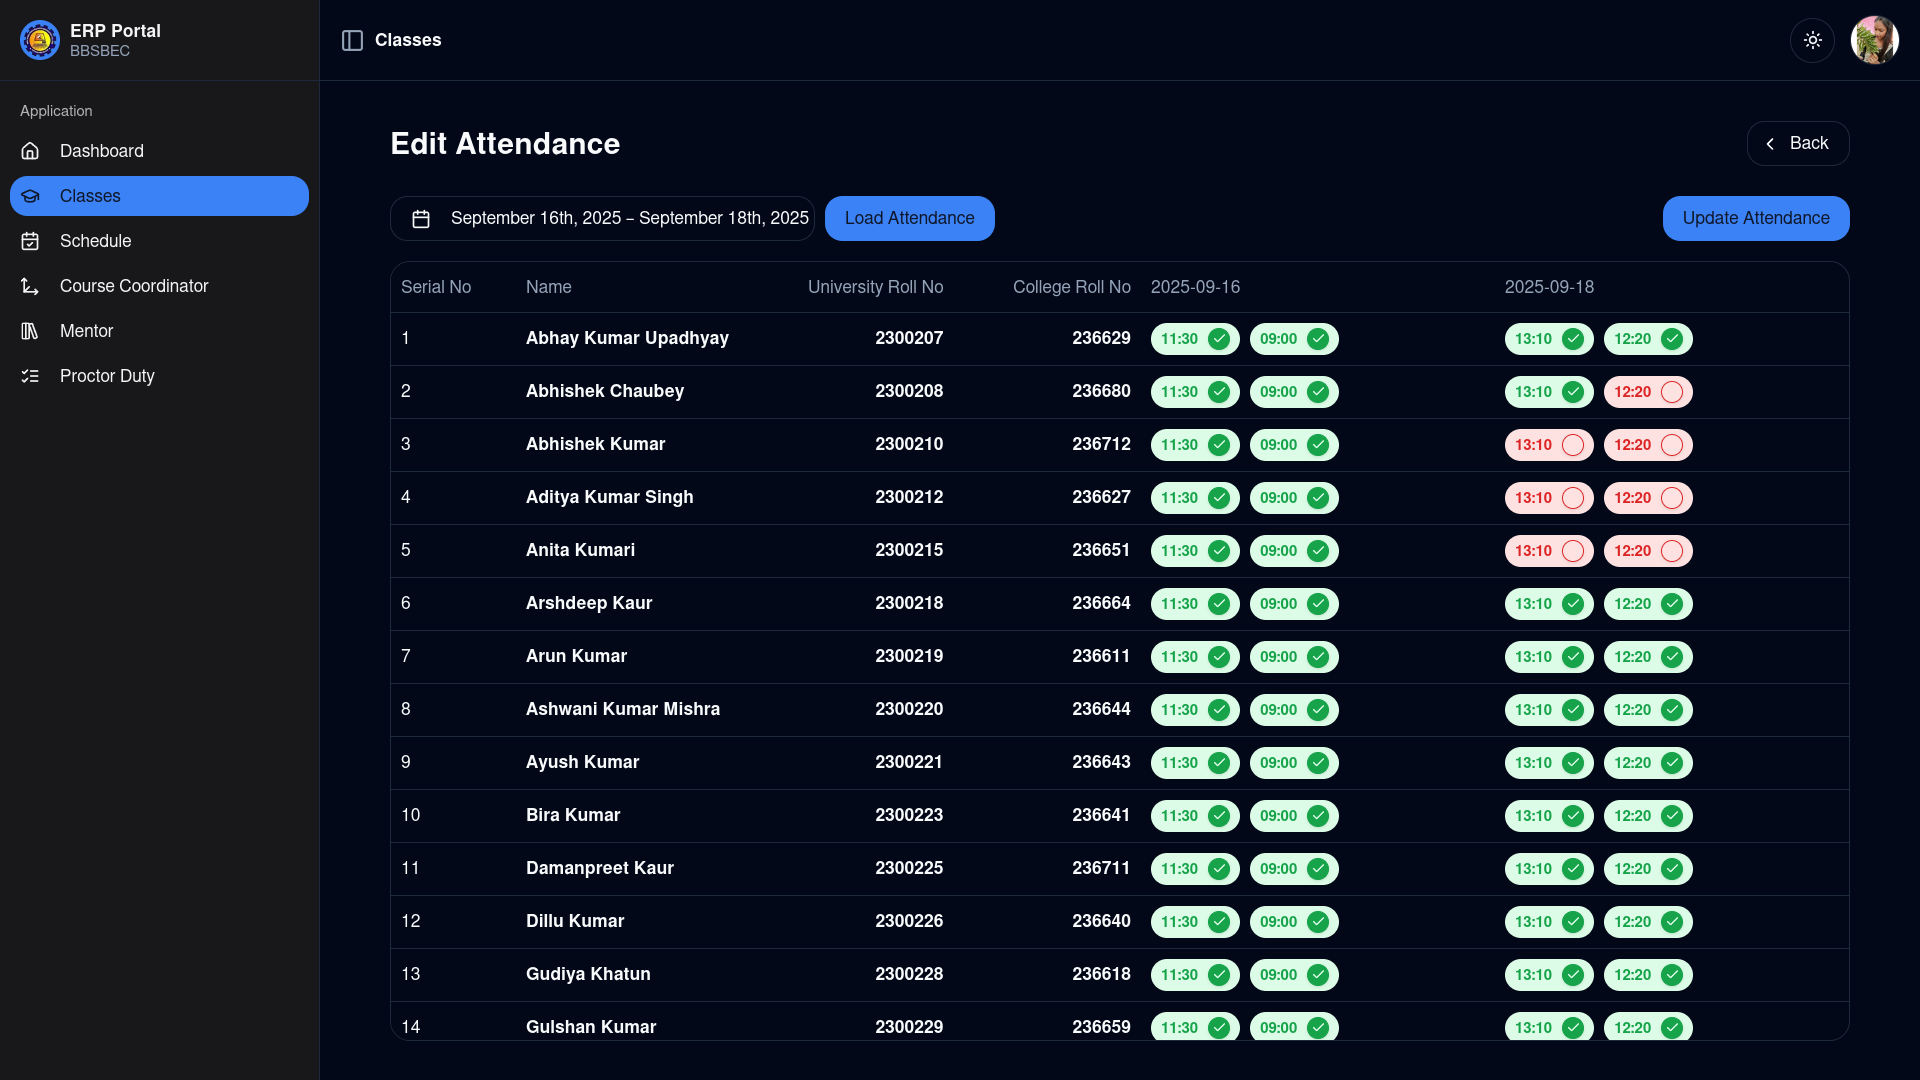
Edit by date range:
- Select dates to define the range and click "Load Attendance".
- Update attendance for each day individually, then submit changes.
Edit by a single date:
Select a date and click "Load Attendance".
Update as required and click "Update Attendance".
You can also delete attendance for a selected day by clicking on "Delete Attendance".
WARNING
This action is irreversible.
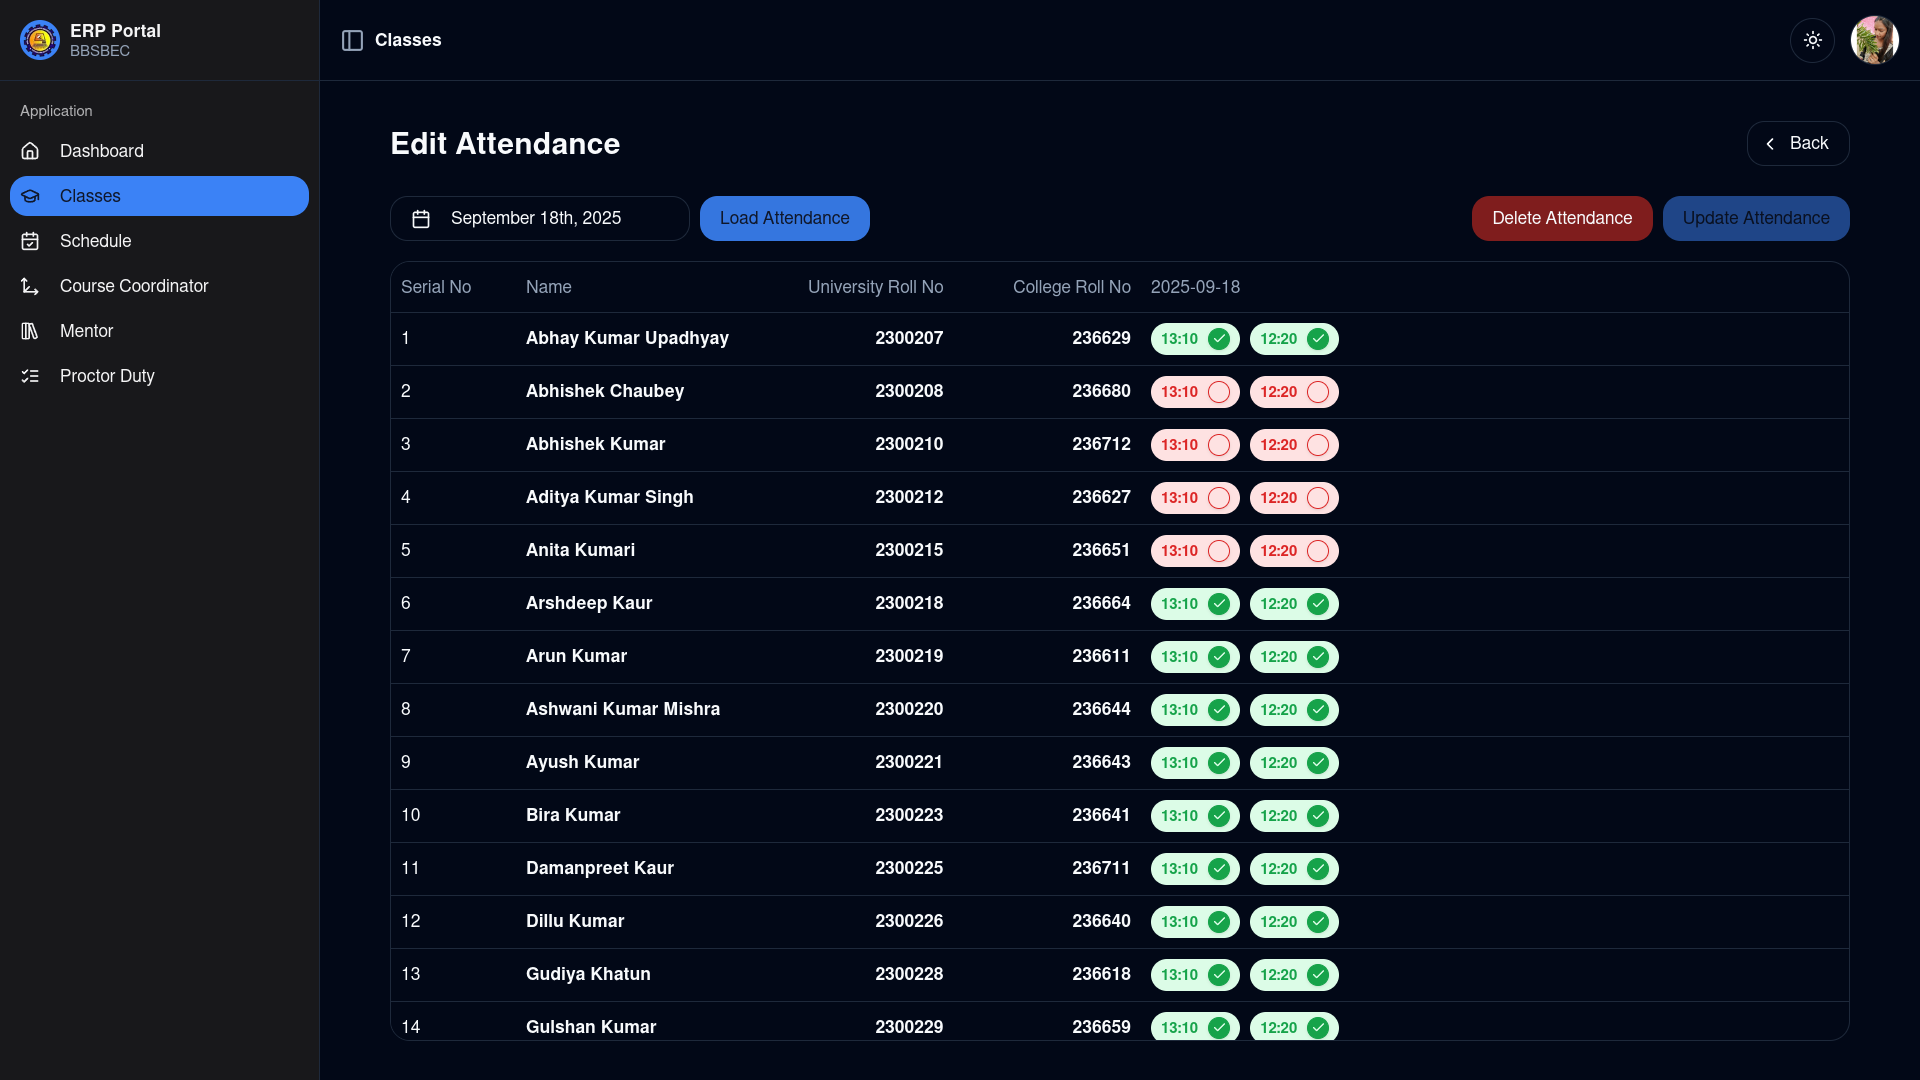
Delete Attendance
Delete attendance only from the "Edit Attendance by single date" page.
View Attendance
Repeat steps 1-2 of Marking Attendance.
Click "View Attendance" to proceed.
Choose "View by date range" (defaults to last 5 days) or "View by single date".
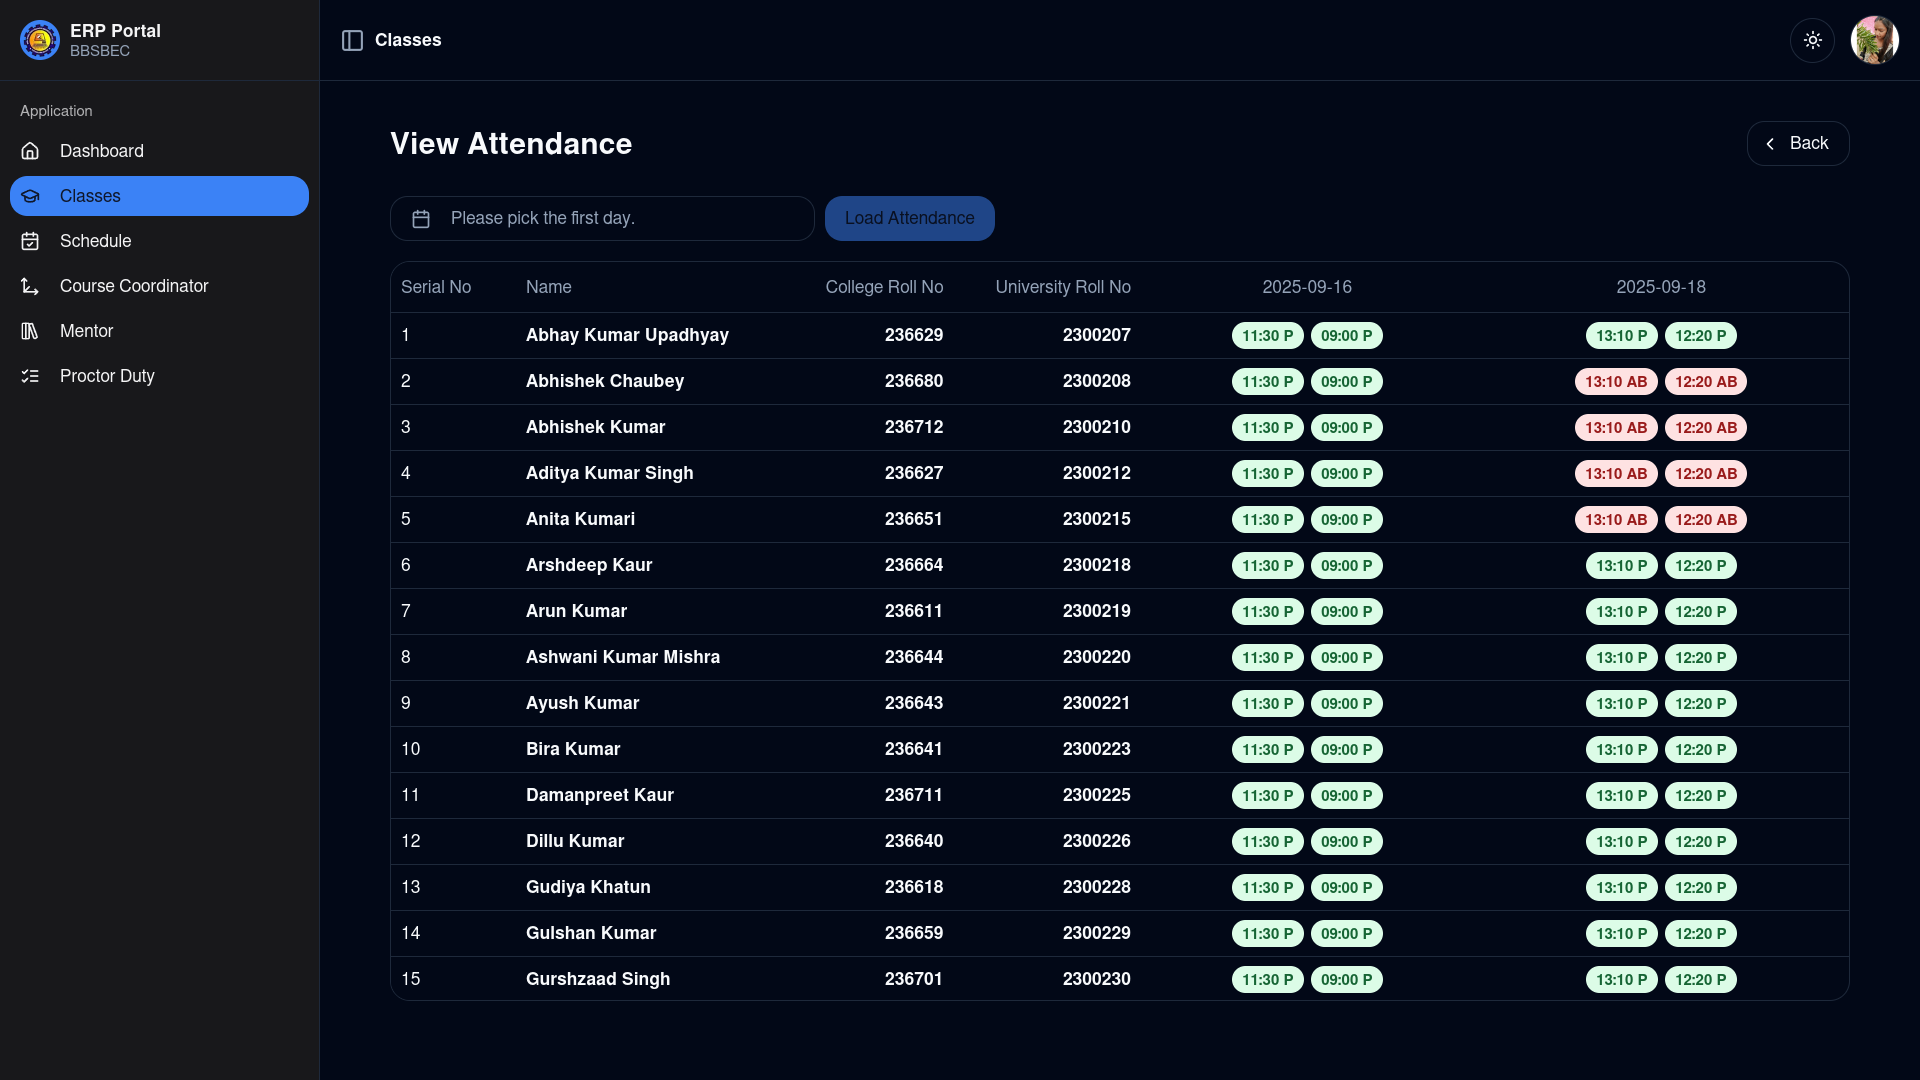
View by date range
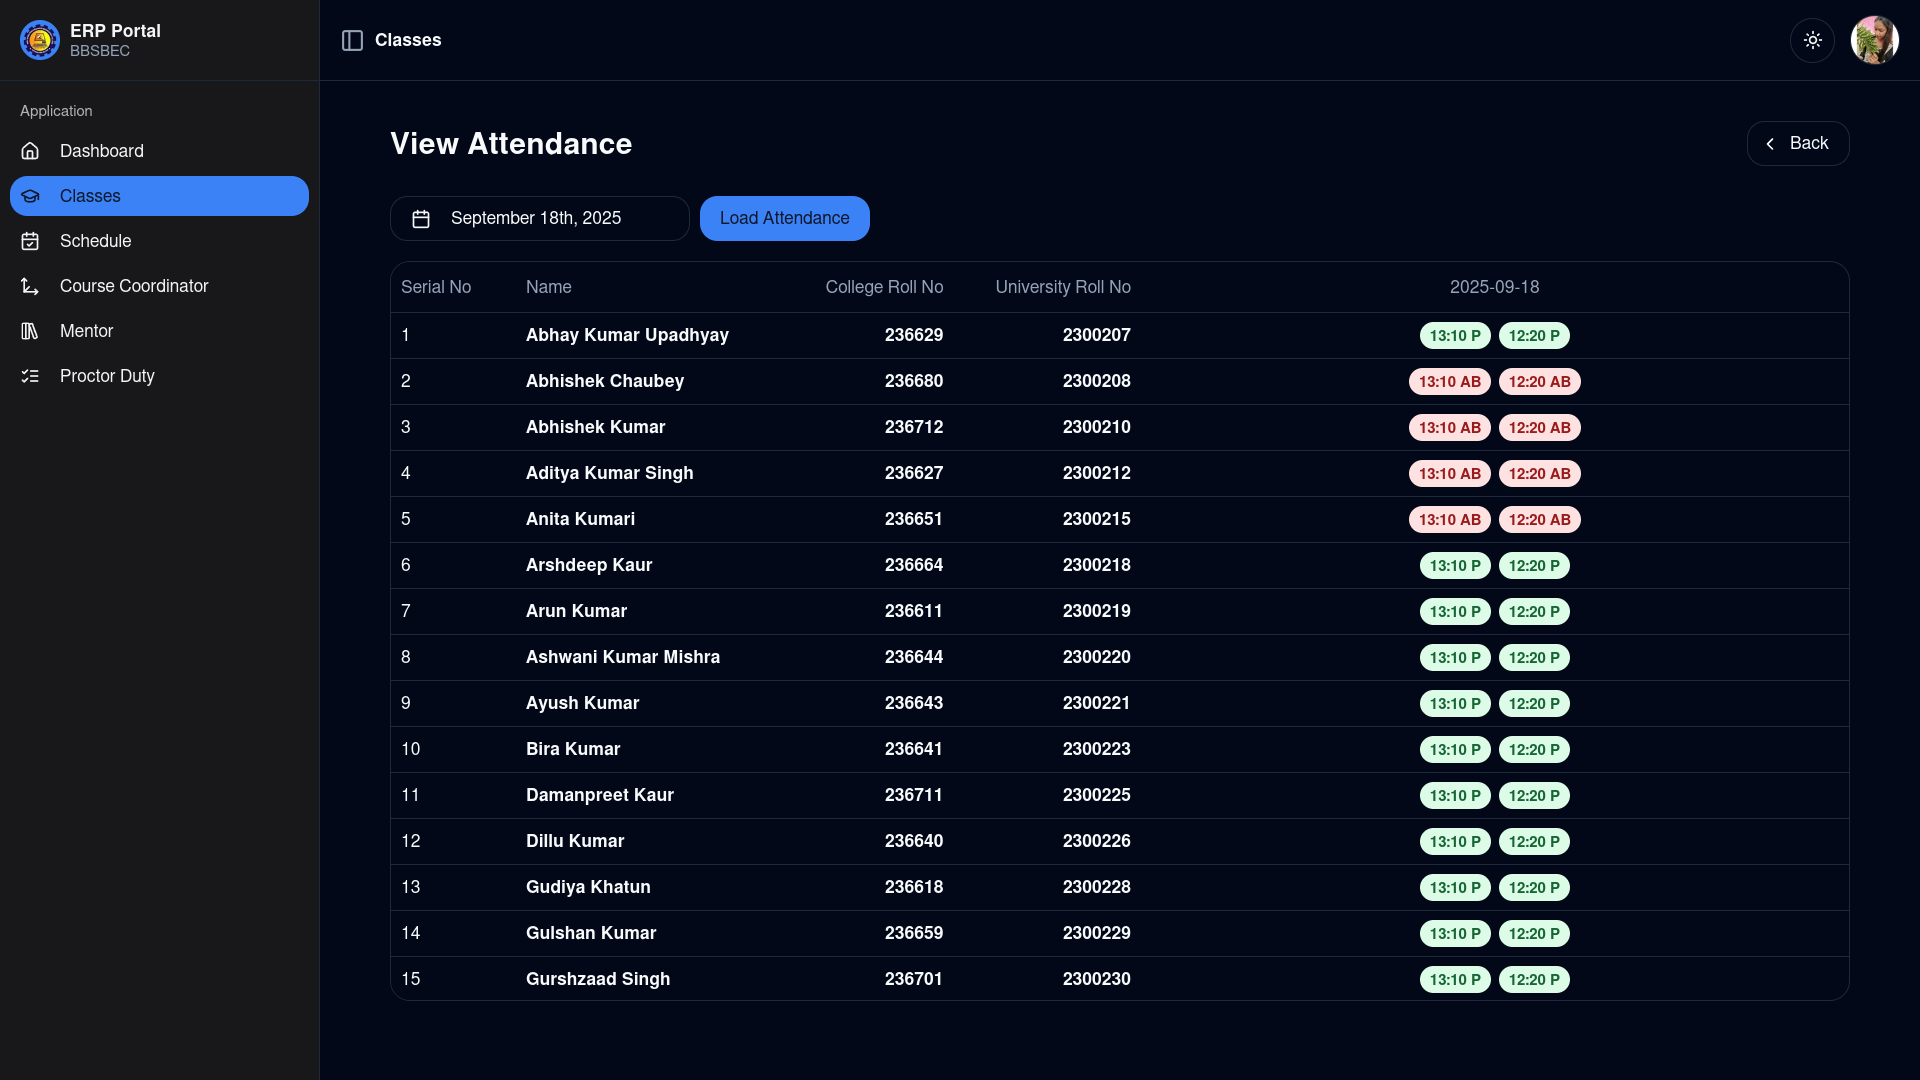
View by single date
NOTE
The process follows the same date selection logic as editing attendance. Data for selected days will be displayed.